Best Lightroom Settings for Instagram
This post will detail the best Lightroom settings for getting optimized images on Facebook and Instagram. You will learn how to optimize the quality of your photos by applying the recommended settings. Practical advice and a cheat sheet will be provided to guide you through the process, so you can achieve the best possible results.
Lightroom Settings for Facebook: Best Settings
Lightroom adjustments are essential tools for photographers who want to optimize their images before posting them to social media. Facebook and Instagram are two very popular platforms and their formatting requirements are different. Therefore, it is important to know which Lightroom settings are best suited for each of the platforms. In this article, we'll show you the best Lightroom settings for Facebook and Instagram so you can get the best results when sharing your photos. We also offer a checklist that will help you remember this important information. When posting photos to Facebook, the most commonly used image format is JPG. It is therefore important to configure Lightroom to export your photo in this format. When you open your photo in Lightroom, go to the "Export" tab and select "JPEG Image" from the "Format" drop-down menu. You can then adjust the image quality by setting the "JPEG Quality" slider between 80 and 100% depending on the quality of your image. Once this step is complete, click on "Export" and your photo is ready to be shared on Facebook. To share a photo on Instagram, it is advisable to use the PNG format because it offers better quality and a sharper rendering than JPG. To export your photo in PNG format in Lightroom, go to the "Export" tab and select "PNG Image" from the "Format" drop-down menu. You can then adjust the quality of the image by setting the "PNG Quality" slider between 80 and 100% depending on the quality of your image. Once this step is complete, click on “Export” and your photo is ready to be shared on Instagram. It is also important to consider the maximum image size each platform can support before exporting. For Facebook, the recommended maximum size is 2048 pixels because it is the maximum size allowed by the platform. For Instagram, the maximum recommended size is 1080 pixels because it is the maximum size allowed by the platform. To modify the size of your image before export, go to the "Export" tab and select "Adjust dimensions" or enter the desired dimensions directly (2048 pixels for Facebook or 1080 pixels for Instagram) in the "Length" and "Height" boxes located just below the "Format" drop-down menu . Once this step is complete, click on "Export" and your photo is ready to be shared on the relevant social networks. Finally, it is also important that your photos are optimized to be viewed correctly on all mobile devices because many users browse via a smartphone or tablet rather than a computer. In Lightroom, go to the “Export” tab and check the box “Automatically reduce exposure for better mobile viewing” so that your photo is visible correctly on all types of mobile devices without losing quality or sharpness. finished, click on "Export" and your photo is ready to be shared on Facebook or Instagram! With these simple but effective tips, you should now know how to configure Lightroom to export photos optimized for Facebook and Instagram. Whether it's formatting or image size, your photos will always be visible correctly thanks to Lightroom settings adapted to each social platform; no need to spend hours manually retouching each image! And if you need a quick reminder of the settings to apply to each of the social platforms here is a checklist that should help you: - Formatting: JPG for Facebook; PNG for Instagram - Size: 2048 pixels (maximum) for Facebook; 1080 pixels (maximum) for Instagram - Automatic reduction for better mobile viewing: Yes Feel free to put these few tips into practice to quickly optimize your photos before publication!
Lightroom Settings for Instagram: The Best Settings
Adjusting Lightroom Settings for Instagram In this article, we'll look at the best Lightroom settings to optimize your photos before posting them to Instagram and Facebook. We will consider the best settings to apply so that your images are sharp and bright, and to obtain the best possible rendering. First, it's important to understand how the Instagram platform processes your images. By default, Instagram reduces the resolution of images to 1080px by 1080px – which means that it's essential to prepare your image well before posting it in order to get the best possible result. In order to guarantee the best possible quality, we recommend that you use the "Export" module of Lightroom to export your photo in JPEG format. You can also choose PNG format if you want to keep a transparent background for your photo. Once your photo is exported, you'll need to select a few additional settings before you can post it to Instagram or Facebook. The first adjustment you will need to make is the “Size” parameter. It is advised to export your image in 1080 pixels by 1080 pixels to get good quality when sharing on Instagram or Facebook. Also, by selecting this size, you will avoid resizing issues that can result from sharing on these platforms. The second adjustment you will need to make is the “Quality” setting. It is recommended to export your image with a JPEG compression rate of 80% in order to obtain a good compromise between quality and file size. With this compression rate, your photos will be crisp and bright, with no significant loss in visual quality. Finally, the third setting to take into account is the colorimetric format. To get good visual quality when sharing on Instagram or Facebook, it is advisable to export your photo in sRGB format. This is the format most commonly used by these platforms and will deliver accurate color and optimal rendering to your photos once shared online. So these are some of the main Lightroom settings to consider when preparing an image for sharing on Instagram or Facebook. Thanks to the right settings, you will be sure to have an optimal rendering for each of your images online. Finally, to facilitate the application of the aforementioned tips,
Cheat Sheet: The Best Lightroom Settings for Facebook and Instagram
Lightroom is an award-winning photo editing software developed by Adobe. It is used by professional and amateur photographers to edit and organize their images. But how do you optimize Lightroom settings for Facebook and Instagram? In order to answer this question, we've created a cheat sheet that summarizes the best Lightroom settings for these two platforms. When setting up Lightroom settings for Facebook and Instagram, it's important to consider the appropriate image format and quality requirements. For Facebook, we recommend JPEG images with a minimum size of 720 pixels across the length or width. Square photos must also have a minimum size of 720 pixels. The maximum size allowed is 8MB. For Instagram, you should opt for JPEG images with a minimum size of 1080 pixels across the width or length. Square photos must also have a minimum size of 1080 pixels. The maximum size allowed is 10MB. When it comes to specific Lightroom settings, we always recommend using "export" mode. Once you have selected this mode, you can choose between "Export to Folder" or "Export to Web Service". If you choose to export to a web service such as Facebook or Instagram, you can adjust the image type and ad hoc settings such as format (JPEG) and resolution (high or medium). Additionally, you can also choose whether the image should be optimized for better image quality. image or for faster loading. The "quality" part of the Export menu includes three options: low quality (for faster loading), medium quality (for detailed but not too heavy images) and high quality (for very precise photos). We recommend using medium quality when posting to Facebook and Instagram to get a clean image without it taking too long to load. You can also check the "Customize" option to manually adjust the compression rate and get even more control over the final quality of the exported files. Another important option is "size", which is usually found under the "Other options" tab. This option allows the user to manually change the size of exported images by specifying the exact number of pixels on each axis (width and length). It's especially useful if you want to export images to the exact dimensions required by Facebook or Instagram. If you don't want to manually change the size, you can simply select "Automatic" and Lightroom will automatically choose the appropriate size based on the previous "Quality" setting you selected. Finally, when you export an image to Facebook or Instagram via Lightroom, be sure to check the option "Add EXIF information to the exported image" so that your photo retains its original EXIF data such as the camera model used, the lens and other detailed information that may be useful to other photographers viewing your work. Adding EXIF data can also be very useful if you want to keep a complete record of the work done on your photo from the time it was taken until it was published online. To sum up, here are the best Lightroom settings for Facebook and Instagram: use Export mode; opt for JPEG photos with a minimum size of 720 pixels (for Facebook) or 1080 pixels (for Instagram); choose "Quality" to "Medium"; manually configure the size if necessary; enable “Add EXIF information to exported image” if possible; and make sure your image does not exceed 8MB (for Facebook) or 10MB (for Instagram).
Lightroom settings for Facebook and Instagram: a matter of taste
The Lightroom settings for Facebook and Instagram can be a real conundrum for many photographers. There are many tools and options that can be used to modify the image and make it look better. Although these tools can be very useful, they should also be used with caution in order to achieve the best possible result. Lightroom settings for Facebook and Instagram are therefore a matter of taste and it is important to fully understand their functionality before you start using them. First of all, it is important to note that the Lightroom settings on Facebook and Instagram are a bit different from other photo editing tools as they are not intended to deeply modify the image but rather to improve its appearance. The main tools offered are brightness, contrast, saturation, gamma, white balance, blur and noise. Depending on the settings chosen, the image can be changed to appear sharper or blurrier, brighter or darker, more contrast or less contrast. These settings can be applied individually or simultaneously for best results. When deciding which Lightroom settings for Facebook and Instagram to use, you'll need to consider the type of image you want to achieve. Images intended for Facebook should generally be brighter and crisper while those intended for Instagram tend to be softer and less contrasty. Once you have determined the type of image you want to achieve, you can adjust the various Lightroom parameters according to your needs to obtain the best possible rendering. When working on a specific project with Lightroom settings for Facebook and Instagram, it's also important to consider the final size of the image you want to achieve. It is important to note that an image that is too small will not be visible correctly on social networks while an image that is too large risks losing graphic quality. For this reason, it is essential to ensure that the final size is large enough to guarantee good visual quality but not too large either to avoid loss of graphic quality. Finally, regarding the use of Lightroom settings for Facebook and Instagram, it is always better to use a color profile specially designed for these platforms to ensure better consistency between the original photo and the modified version. This will also ensure optimal color even on mobile devices that display different colors depending on the color profiles used by each device. In conclusion, Lightroom settings for Facebook and Instagram are a matter of personal taste, but it's important to understand how each of the tools works before you start using them in order to get the best possible result on these popular social platforms. Once you understand how each of the tools works, you will be able to
The Best Lightroom Settings for Facebook and Instagram: The Choice is Yours!
Lightroom is a handy software for editing and editing photos. It is widely used today, especially for social media such as Facebook and Instagram. Although quite easy to use, Lightroom settings can sometimes be difficult to understand and master. However, by knowing how to choose the right settings for Facebook and Instagram, you can achieve great results for your images. When it comes to image size, a size of 2048 x 2048 pixels is usually ideal for Facebook and Instagram. This will ensure that your image won't look too blurry or too grainy when viewed on these platforms. If you have a larger image, it is recommended to resize it before uploading it to Facebook or Instagram. When editing a photo with Lightroom, it's important to consider the file format in which it will need to be saved. JPG and PNG formats are most commonly used for Facebook and Instagram; they are generally well accepted by these platforms. If you want to save your image in RAW format, be sure to convert it to JPG or PNG before uploading it to these sites. Image quality settings are also important: they can significantly affect the final appearance of your photo. For Facebook and Instagram, the image quality should be set between 60-80% - the higher the quality, the sharper and more detailed your image will be. Remember that choosing too high a quality may result in poor image quality. image when uploading to these platforms. Finally, when editing photos for Facebook or Instagram with Lightroom, don't forget to adjust the brightness and contrast levels. The right settings vary by image type - in general, low contrast will make images appear softer and more subtle, while higher contrast will tend to make images more vibrant and intense. The brightness must also be adapted to the specific needs: too low a level will make the images dark and dull; too high a level can produce too intense colors that will not be suitable for Facebook or Instagram. Bottom line: for best results with Lightroom for Facebook and Instagram, be sure to set the image size to 2048 x 2048 pixels; choose an appropriate file format; set the quality between 60 and 80%; adjust brightness and contrast levels depending on the type of image you are processing. To help you remember these essential settings, see the following table: |Size |File Format |Quality |Brightness |Contrast| |------|---------------|--------|-----------|----- ----| |2048 x 2048 pixels|JPG/PNG|60-80%|Adapt |Adapt |
In conclusion, Lightroom adjustments are a handy and effective tool for optimizing images for Facebook and Instagram. It is important to choose the right settings to achieve optimal visual quality and meet the requirements of each of these platforms. To help you, we've provided a cheat sheet with the best Lightroom settings to use to deliver outstanding images to Facebook and Instagram.
Buy the Pack of
+ 40 collections Lightroom Presets

Download all the essentials, for influencers, for photographers and know-how to edit your photos like a PRO !
Bonus on the Pack:
🥳
+ 500 Filters and + 40 collections of Professional Lightroom Presets.
🎁
Easy Installation Guide on PDF and tutorials videos for IOS, Android & Desktop.
🎁
Free Tips & Tricks for Lightroom
Regular price:
$399
🥳
Special price offer:
$29
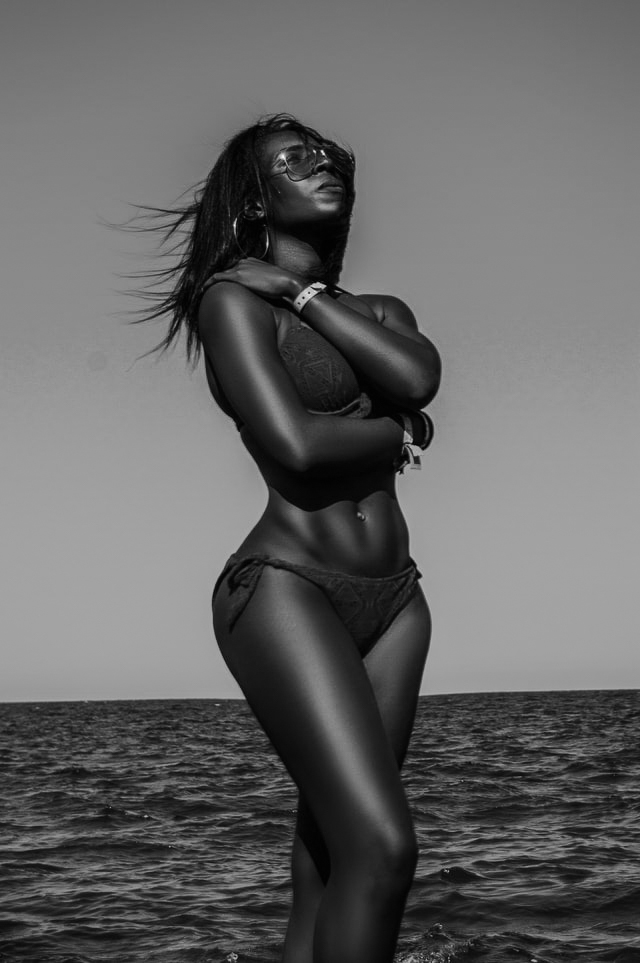
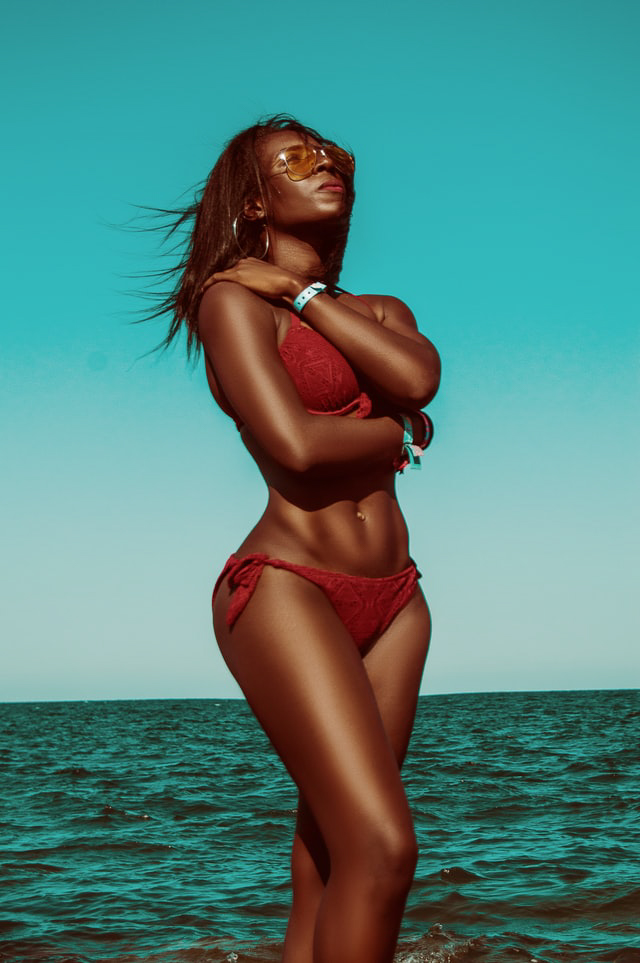
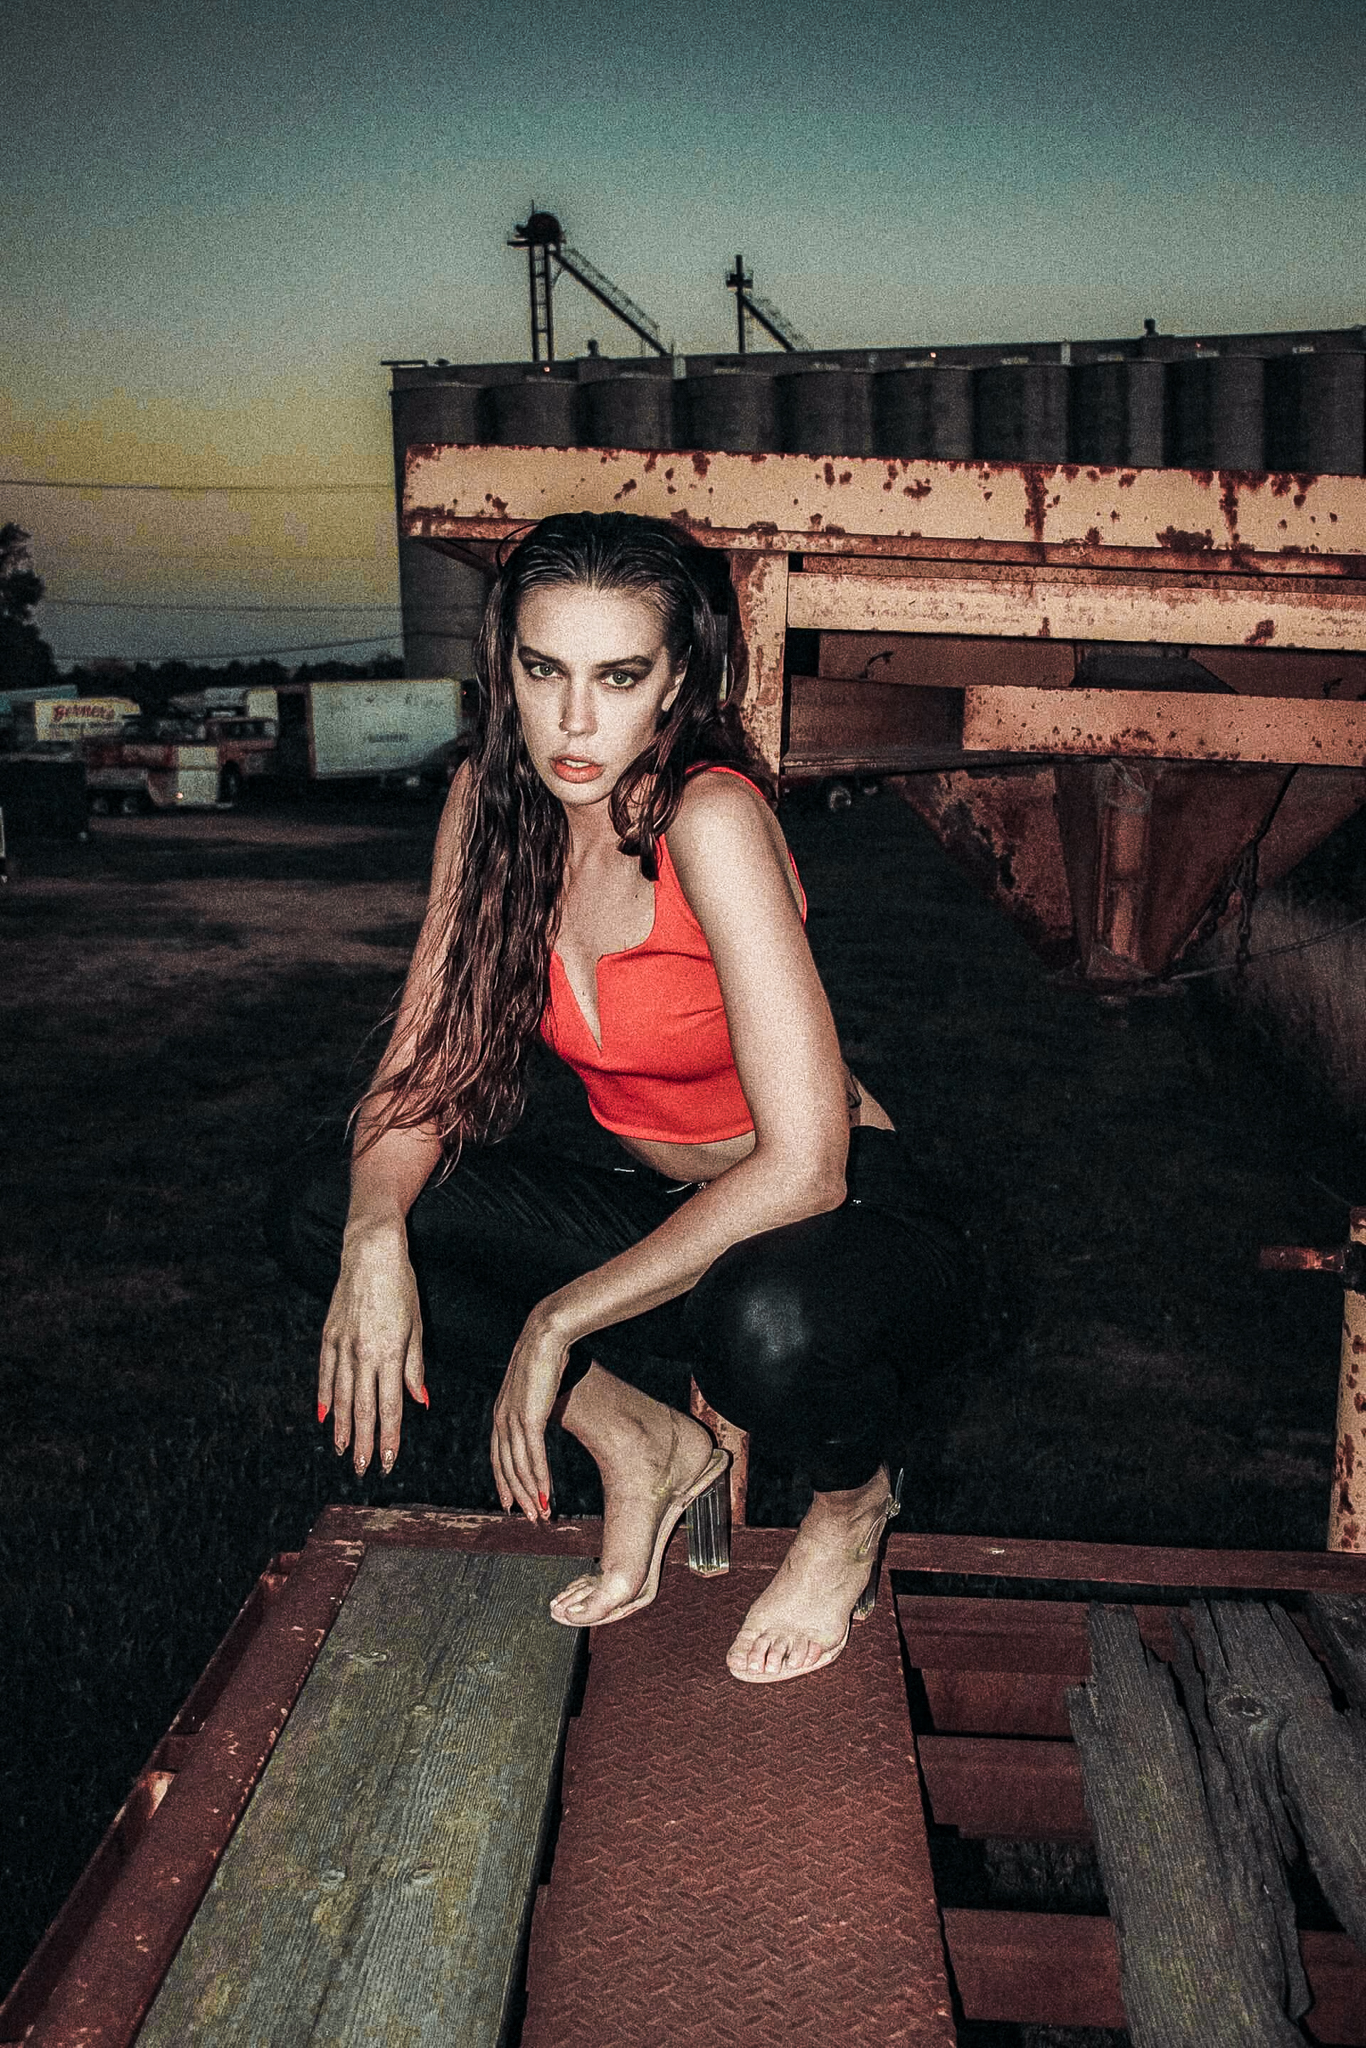
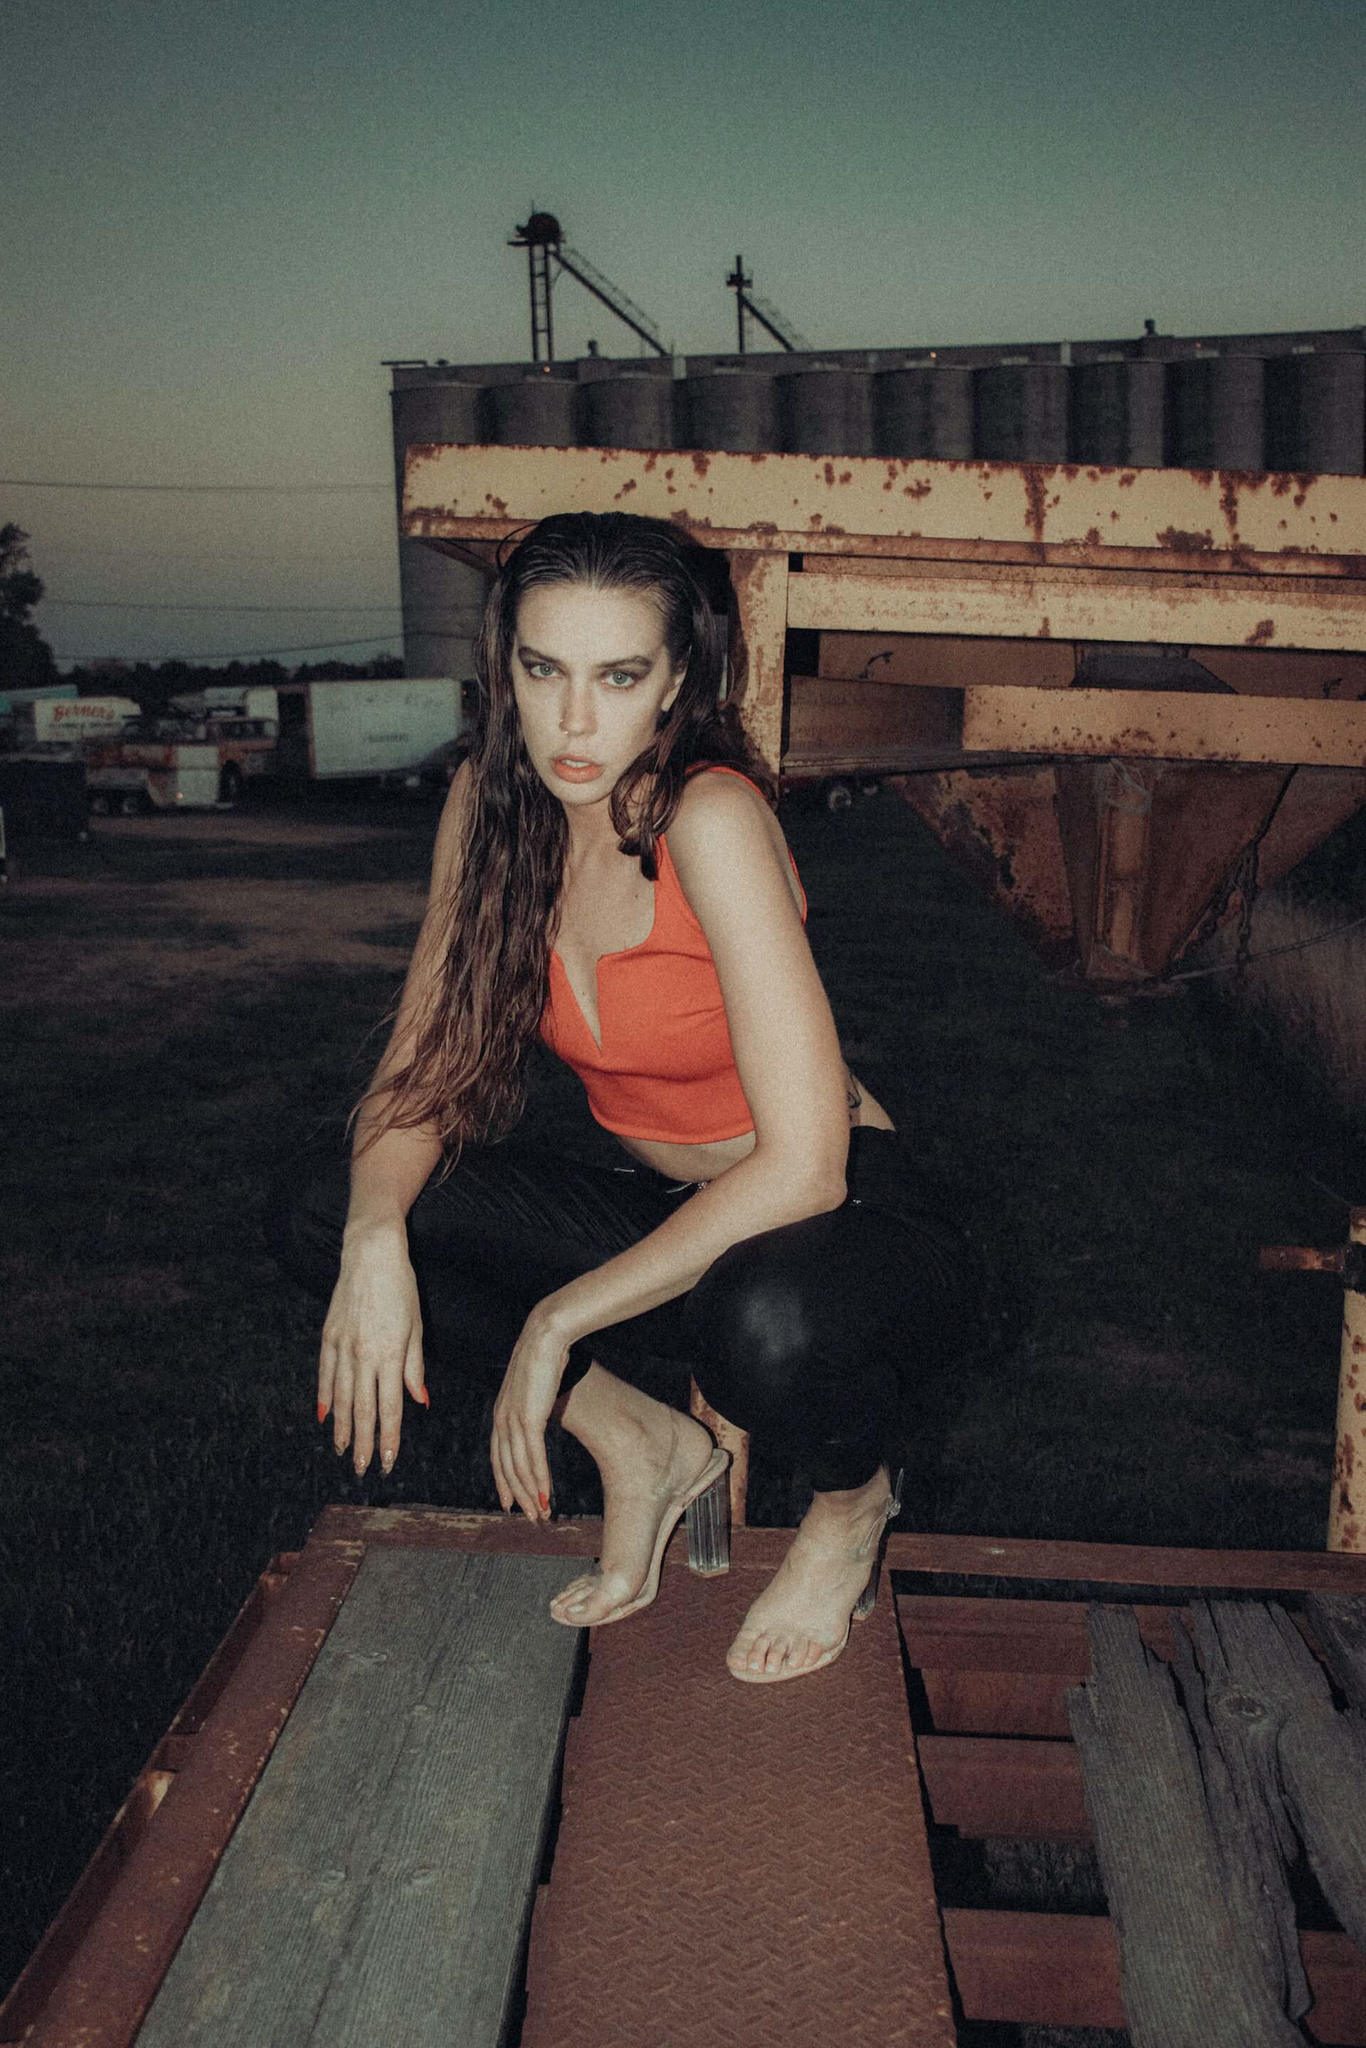
Before / After
Watch the difference from our clients⚡️
Before
After
Before
After
Before
After
Before
After
Before
After
Before
After
Before
After
Before
After
Before
After
Before
After

Before
After
Before
After
Before
After
Before
After
Before
After
Before
After

Before
After

Before
After
What others say about
the Pack ?

I love this Pack!! I finally got the Instagram I have always wanted! I love all the themes and it was super easy to download and install🙈🙏🏼❤️LOVE IT
Adam P.
Love these presets! Super easy and fast to use. AND it comes in like 9 different versions. By far best looking and best priced preset I’ve ever used!!
Bella R.
Looks amazing on my instagram highlights! Definitely would recommend purchasing for that professional look!
jULY V.
I can not love more this preset gives a vintage nostalgic touch I do not know how to explain it beautiful to the photos. I'm in love
lianA G.
Want to try our PEACHY Lightroom Presets for FREE...
Frequently Asked
Questions

It’s a group of settings for editing your photos in Adobe Lightroom. Kind of like a filter you put on your Instagram photos.
It gives a great look to your images in just 1 click!
Our presets are compatible with iPhone, Android, Mac & PC, so you can edit your photos wherever you are!
Follow the easy installation guide included with the download,
load up your presets and scroll over them until you find one that you like!
After you purchase our Lightroom Presets you will immediately get taken to the thank-you page from where you will be able to download them instantly. You will also receive an email with the link to the thank-you page so you can access them anytime you want.
If for any reason you don't receive it, please reach out to us at hello@lightroompreset.store
Both Lightroom Classic and Lightroom CC, on Desktop, Tablet, Mobile; every device you can load the app on. Version wise, they work on every version from 7 onwards. These presets use the new .XMP format and won’t be backwards compatible with versions that still use the .lrtemplate format.
Absolutely! Most of our customers are either beginners or enthusiast who just to get better at editing. You will have easy installation guide included with the download, load up your presets and scroll over them until you find one that you like!
Absolutely! Most of our customers are either beginners or enthusiast who just to get better at editing. You will have easy installation guide included with the download, load up your presets and scroll over them until you find one that you like!
No Worries At All, Just Send Us An Email With Your Order Details And We Will Send You A New Download Link.
You do not need a subscription for the mobile presets.
All you need to do is install the FREE Lightroom mobile app in the app store! 😀
Sure thing! 😀 Just send us up to 5 images if you are interested in Presets,
via hello@1lightroompreset.store